Driveways on the Central Coast need shade that cools the apron, protects paintwork, and keeps footpaths clear in all seasons. A good layout follows how cars turn, how doors open, and where people walk, then sets fabric fall so rain leaves the area without crossing the entry. When you choose solid anchors, allow clean lines between corners, and plan clearances early, the sail tensions smoothly, runs quiet in wind, and lasts longer in coastal air.
Shade design works best when you start with the space you actually use, not just the slab size. Map the turning arc into the garage, mark the door swing on both sides, and trace the path to the front door. Decide which edges need the most protection from afternoon sun, then place your corners so the sail shelters that path while keeping the lowest edge out of reach. Confirm where you want water to go, usually to a garden strip or grate, and use that decision to set your high and low corners before you measure any spans.
What to Plan First
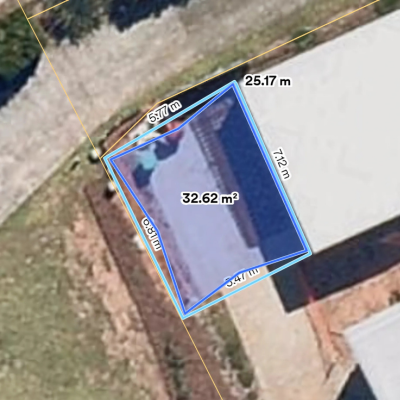
Define the shaded zone, then make sure people can still move from the car to the door without detours. Corners should pull in straight lines with no gutters, lights, or branches in the way. Setbacks from boundaries and eaves matter, because posts and hardware need space to work and to avoid rubbing when wind shifts. Establish a fall direction now so you are not fighting ponding later, especially on wide double driveways where a single flat plane can hold water after summer storms.
Think about visibility and comfort as well as coverage. Keep posts out of mirror lines and door swing zones so drivers can park without tight corrections. Leave space near the garage entry for bins or prams so people do not bump fittings. If you often reverse a trailer or a taller vehicle, note the path and the high point it needs. With these choices set, you get a layout that works at peak times and still looks ordered from the street.

Common Layout Mistakes
Equal corner heights make flat planes that hold water and create noise. The fabric might look neat on day one, but the first heavy rain will show where the low spot lives. Avoid pushing corners tight under eaves, because a sail needs room for turnbuckles and shackles to align with the load. When hardware has no clearance, it binds, squeaks, and wears the pockets at the corners.
Long spans without extra height lead to mid-panel sag and glare at eye level. Break a very wide area into two sails when heights are limited, or raise one corner to create a clear twist across the panel. Keep edges away from downpipes and light fittings so nothing rubs in a gust. These small adjustments prevent the friction and ponding that age a sail early.

Posts, Fixings, and Coastal Hardware
Posts carry the load, so footing depth and diameter must suit soil and span. Reactive clays and sandy pockets change how footings behave, which is why we size to local ground and the span you plan, not a one-size approach. Align posts to the line of pull so tensioning hardware works smoothly, then position posts behind wheel stops where possible to reduce knocks. If you intend to fix to the house, verify structure behind fascia or beams, then hold a clean gap for hardware and gutters.
Coastal air adds salt to normal driveway conditions, and pool areas add humidity. Choose stainless steel hardware and isolate dissimilar metals to reduce tea staining. Powder coat posts to suit traffic and wash-down routines, and keep edges off brick corners and downpipes to avoid rub points. With the right anchors and fittings, the sail holds shape and small adjustments keep it quiet through the season.

Measuring and Photos for Faster Quotes
Measure the spans between the fixing points you plan to use, not just the driveway width. Record finished ground heights at each corner location so we can set a clear high and low. Note any services that affect footing locations, including stormwater, power to gates, or irrigation lines. If a boundary fence limits your options, include that in your notes so we can place posts with safe setbacks.
Photos make everything faster. Take a wide shot from both sides of the driveway so we can see context and sun angles. Add close-ups of proposed fixing points on walls or posts, and include at least one photo with a tape measure visible for scale. If afternoon sun is the main issue, take a photo at that time so we can block the right angle rather than shading the wrong area.
Ready to shade your driveway and entry
Send your spans, corner heights, and site photos and we will confirm a layout with safe clearances for doors and mirrors, set the fall for fast drainage, and provide a fixed quote you can schedule with confidence. If you want to talk it through first, call 0240409920 or use our contact form.